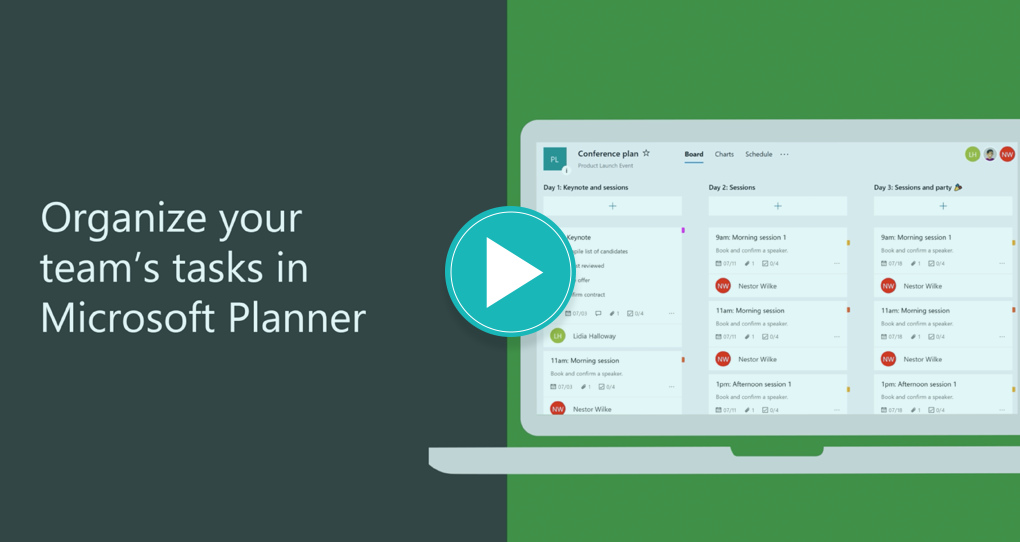
Microsoft Planner. A simple tool to help you get more done.
And it’s included with 365
It can be a challenge coordinating the various tasks for your team members, especially if your team is working remotely and you have multiple projects to stay on top of. However, there’s no need to fret because your Microsoft 365 suite includes Planner – a collaborative tool that can help you organise all your projects in one place.
It’s easy to overlook Microsoft Planner as it’s hidden deep in the list of 365 apps but it’s worth a closer look. It allows you to synchronise all of your projects and schedules across multiple apps within the Microsoft (MS) suite. It’s something we use at Mintivo to organise our internal projects and keep everything on-track.
How can Planner help me manage all my team’s projects and tasks?
With Planner, you’ll be able to:
-
Assign tasks to individual or multiple team members.
-
Organise project workstreams e.g. in order of priority or task type.
-
Monitor the progress of each task and team member.
-
Get notifications about your tasks and plans (overdue, upcoming).
-
Link your Planner schedule to your calendar, so you and your team never miss a deadline.
-
Access Planner via MS Teams so if you’re in a meeting, you can open planner with minimal distraction.
-
Create multiple boards or channels (AKA ‘Buckets’) to suite your various projects.
And there’s a useful mobile app for planning whilst on-the-move!
Quickly create plans, assign tasks, and collaborate
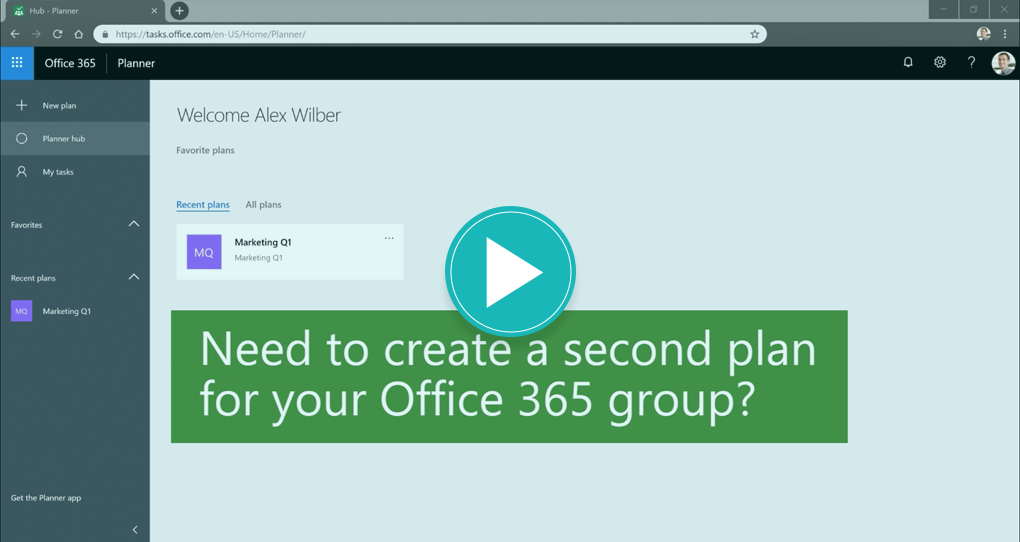
To access your Planner, go to the Microsoft 365 app and select Planner.
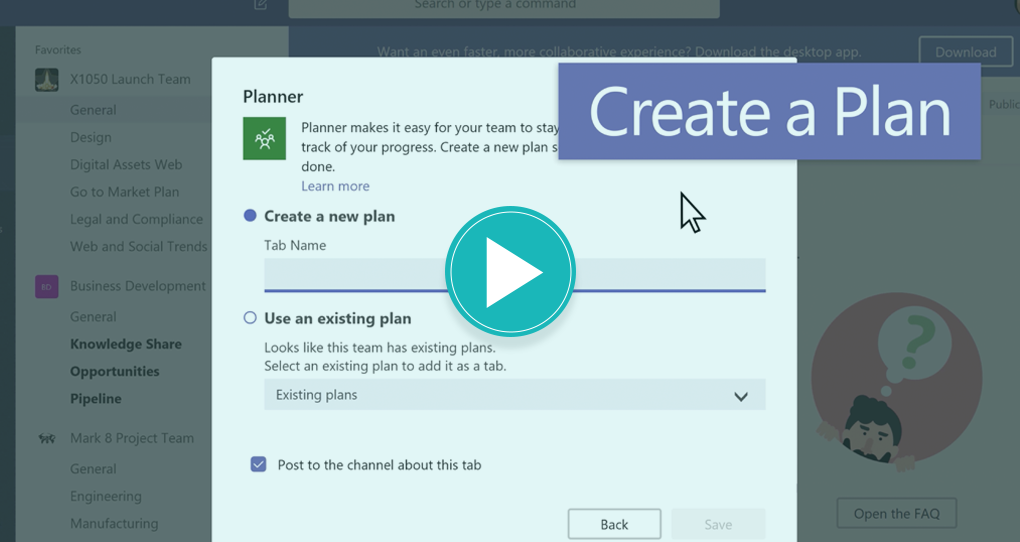
Creating a new plan is quick and easy. Simply click on + New Plan in the left pane and give your plan a name. Note that the plan name is also referred to as a group and by clicking on + New Plan, you are creating a new group, unless you select the option to Add it to an existing Office 365 Group.
For easy access to any of the plans you’ve created within Planner, click on Planner Hub in the left pane, select All plans, find your favourite plan, then select the three dots next to the plan name and click on Add to favourites or the Star icon.
If you’d like to add your plan to a Teams chat, create a new tab in the chat, and select the Planner icon. Alternatively, while in Teams, you can select the three dots in the left pane and click on the Planner icon.
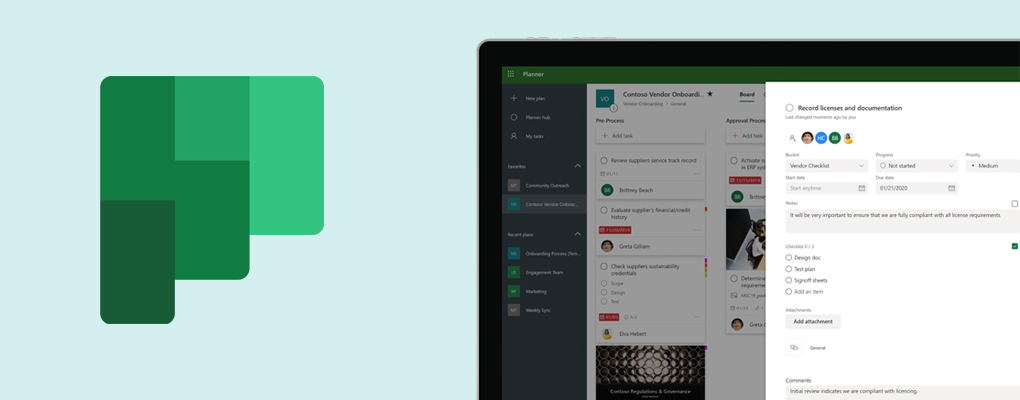
Once you’ve created your new plan, you can start creating individual buckets which will help you sort different types of tasks into various groups. To do so, select Add new bucket and name it.
Tasks can now be created and sorted into the relevant buckets. In order to create a task, click Add task and fill in the necessary fields:
1. Give the task a name.
2. Select Set due date and choose a date.
3. Select Assign and choose a team member.
4. Select Add Task.
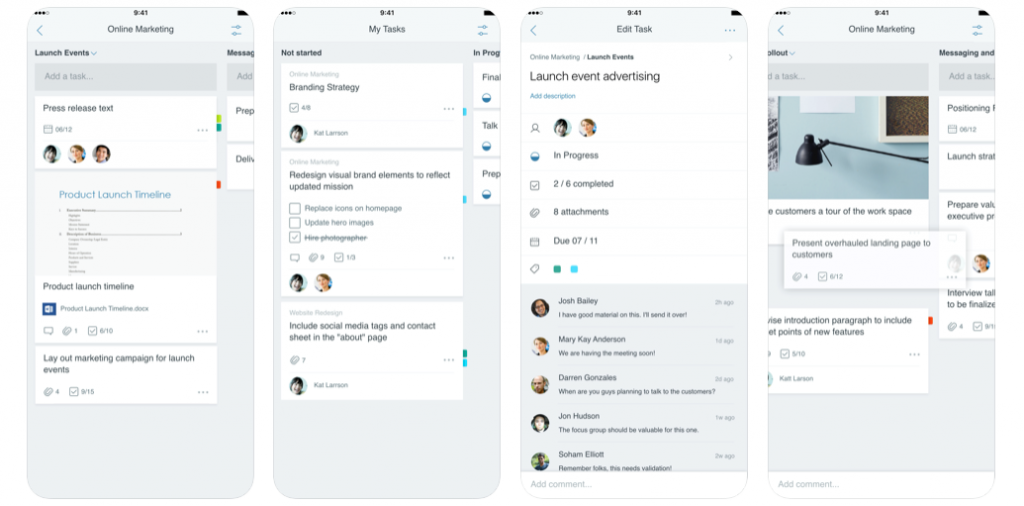
If a task has been assigned to you, it can be viewed under the My tasks section which can be accessed in the left pane.
Organising tasks in Planner is easy
Depending on your preferences, you can arrange your tasks in groups by:
– Bucket
– Assigned to
– Progress
– Due date
– Labels
– Priority
Once you’ve selected your group arrangement, the order of appearance on your project board will change. To do this, select Group by from the menu bar in the top right corner and choose your grouping option.
Stay in the loop
Within your project, you will have access to various charts that are visual representations of the status of each task. These are grouped by working status, bucket, priority and assigned members. To view these charts, click on the Charts option from the menu bar.
Charts are great for reporting and even better for tracking the progress of tasks. Charts allow you to gauge the capacity of all team members involved in the project as well as view the status of work in each bucket.
Another way to track tasks is to view it in the Schedule calendar found next to the Charts section in the menu bar. You can also add your task due dates to your Outlook calendar, simply select the three dots next to Schedule, move down, and click on Add plan to Outlook calendar.
Stay alert
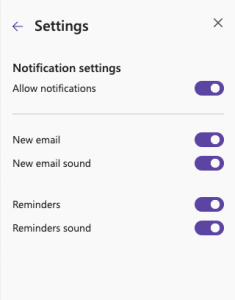
In addition to checking the tasks in your calendar or on the move, you can customise your notifications to remind you of any upcoming deadlines. Select the Settings gear icon in the menu bar in the top right corner, move down to Notifications and then click on Customise settings to choose your notification preferences.
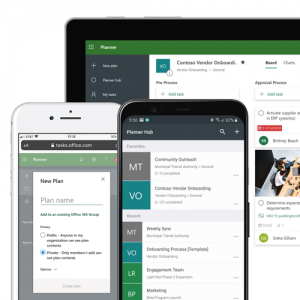
There’s an app for that
You can now track tasks on-the-go. MS Planner is available for iOS and Android mobile devices which is a great way to keep up with task changes and updates or even to make a quick plan while you’re away from your keyboard.